How to install tire lettering the right way
Clean, align, press. No heat gun, no special tools — the exact process our factory recommends for a permanent bond.
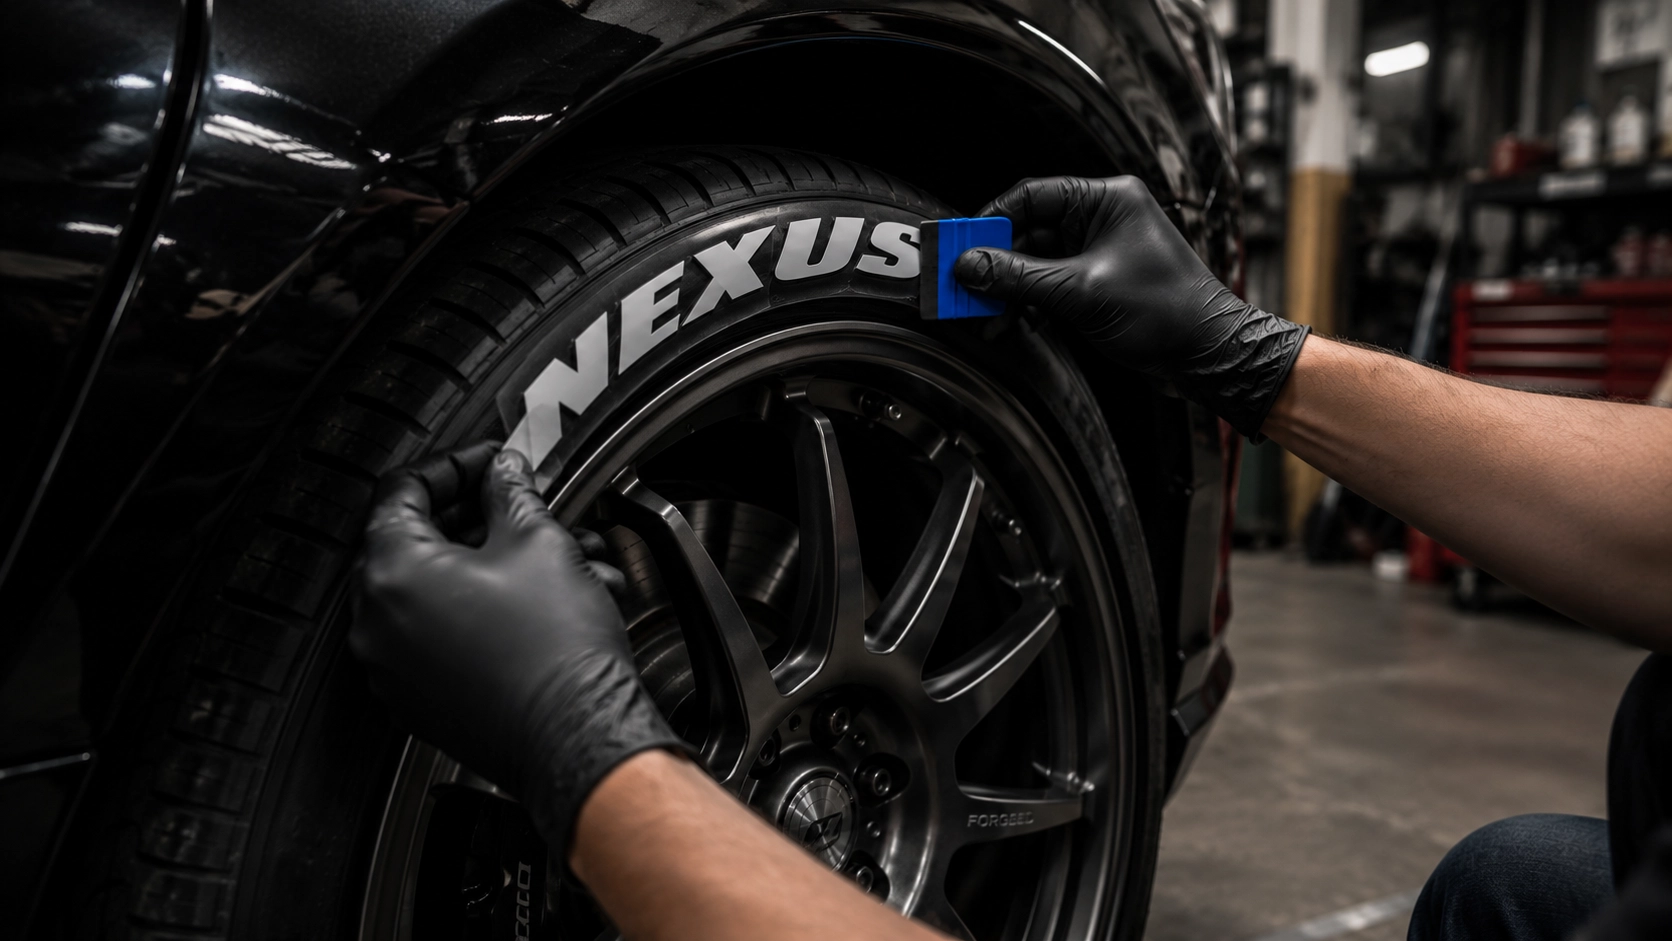
Clean, align, press. No heat gun, no special tools — just patience and a squeegee. Here’s the exact process our factory recommends for tire lettering that bonds for good.
Before you start
Work in the shade on a cool tire. Direct sun and a hot sidewall make the adhesive grab before you’ve aligned the letters. Give yourself 30–40 minutes per set and don’t rush the cleaning step — it’s the one that decides whether the lettering lasts.
1. Clean the sidewall
Scrub the sidewall with soap and water to lift off tire dressing and road grime, then wipe it down with isopropyl alcohol. The surface must be completely dry and grease-free for a permanent bond. Any leftover silicone dressing is the number-one cause of lettering that peels.
2. Dry-fit and mark
Place the letters without removing the backing first. Run a strip of masking tape around the sidewall as a baseline so your spacing stays even around the curve. Step back and check it reads straight from a few feet away before you commit.
3. Peel and press
Remove the backing one letter at a time and press firmly from the center outward with a squeegee or your thumb. Working center-out pushes air to the edges instead of trapping it under the letter.
4. Cure and roll
Let it set for 24 hours before washing. Avoid pressure-washing the lettering directly for the first week while the adhesive reaches full strength. After that, it handles rain, heat and normal wash cycles without complaint.
Troubleshooting
- Edges lifting? The sidewall wasn’t fully degreased — pull the letter, re-clean, re-apply.
- Bubble under a letter? Prick it with a pin and press the air out toward the hole.
- Uneven spacing? That’s why we dry-fit — reposition before the backing comes off.